“I admit it… I’m a total music nerd”
So… I’m a totally sucker for making from kits… I get heaps of satisfaction from putting together all sorts of noise and music making devices including Bleep Labs Thingamagoop 2 RGB and Cat Full of Ghosts Yowler synth.
I even enjoy ripping open old 80’s battery operated keyboards and connecting wires in places just to see what happens. Often nothing, sometimes fun weird things. I admit it… I’m a total music nerd.
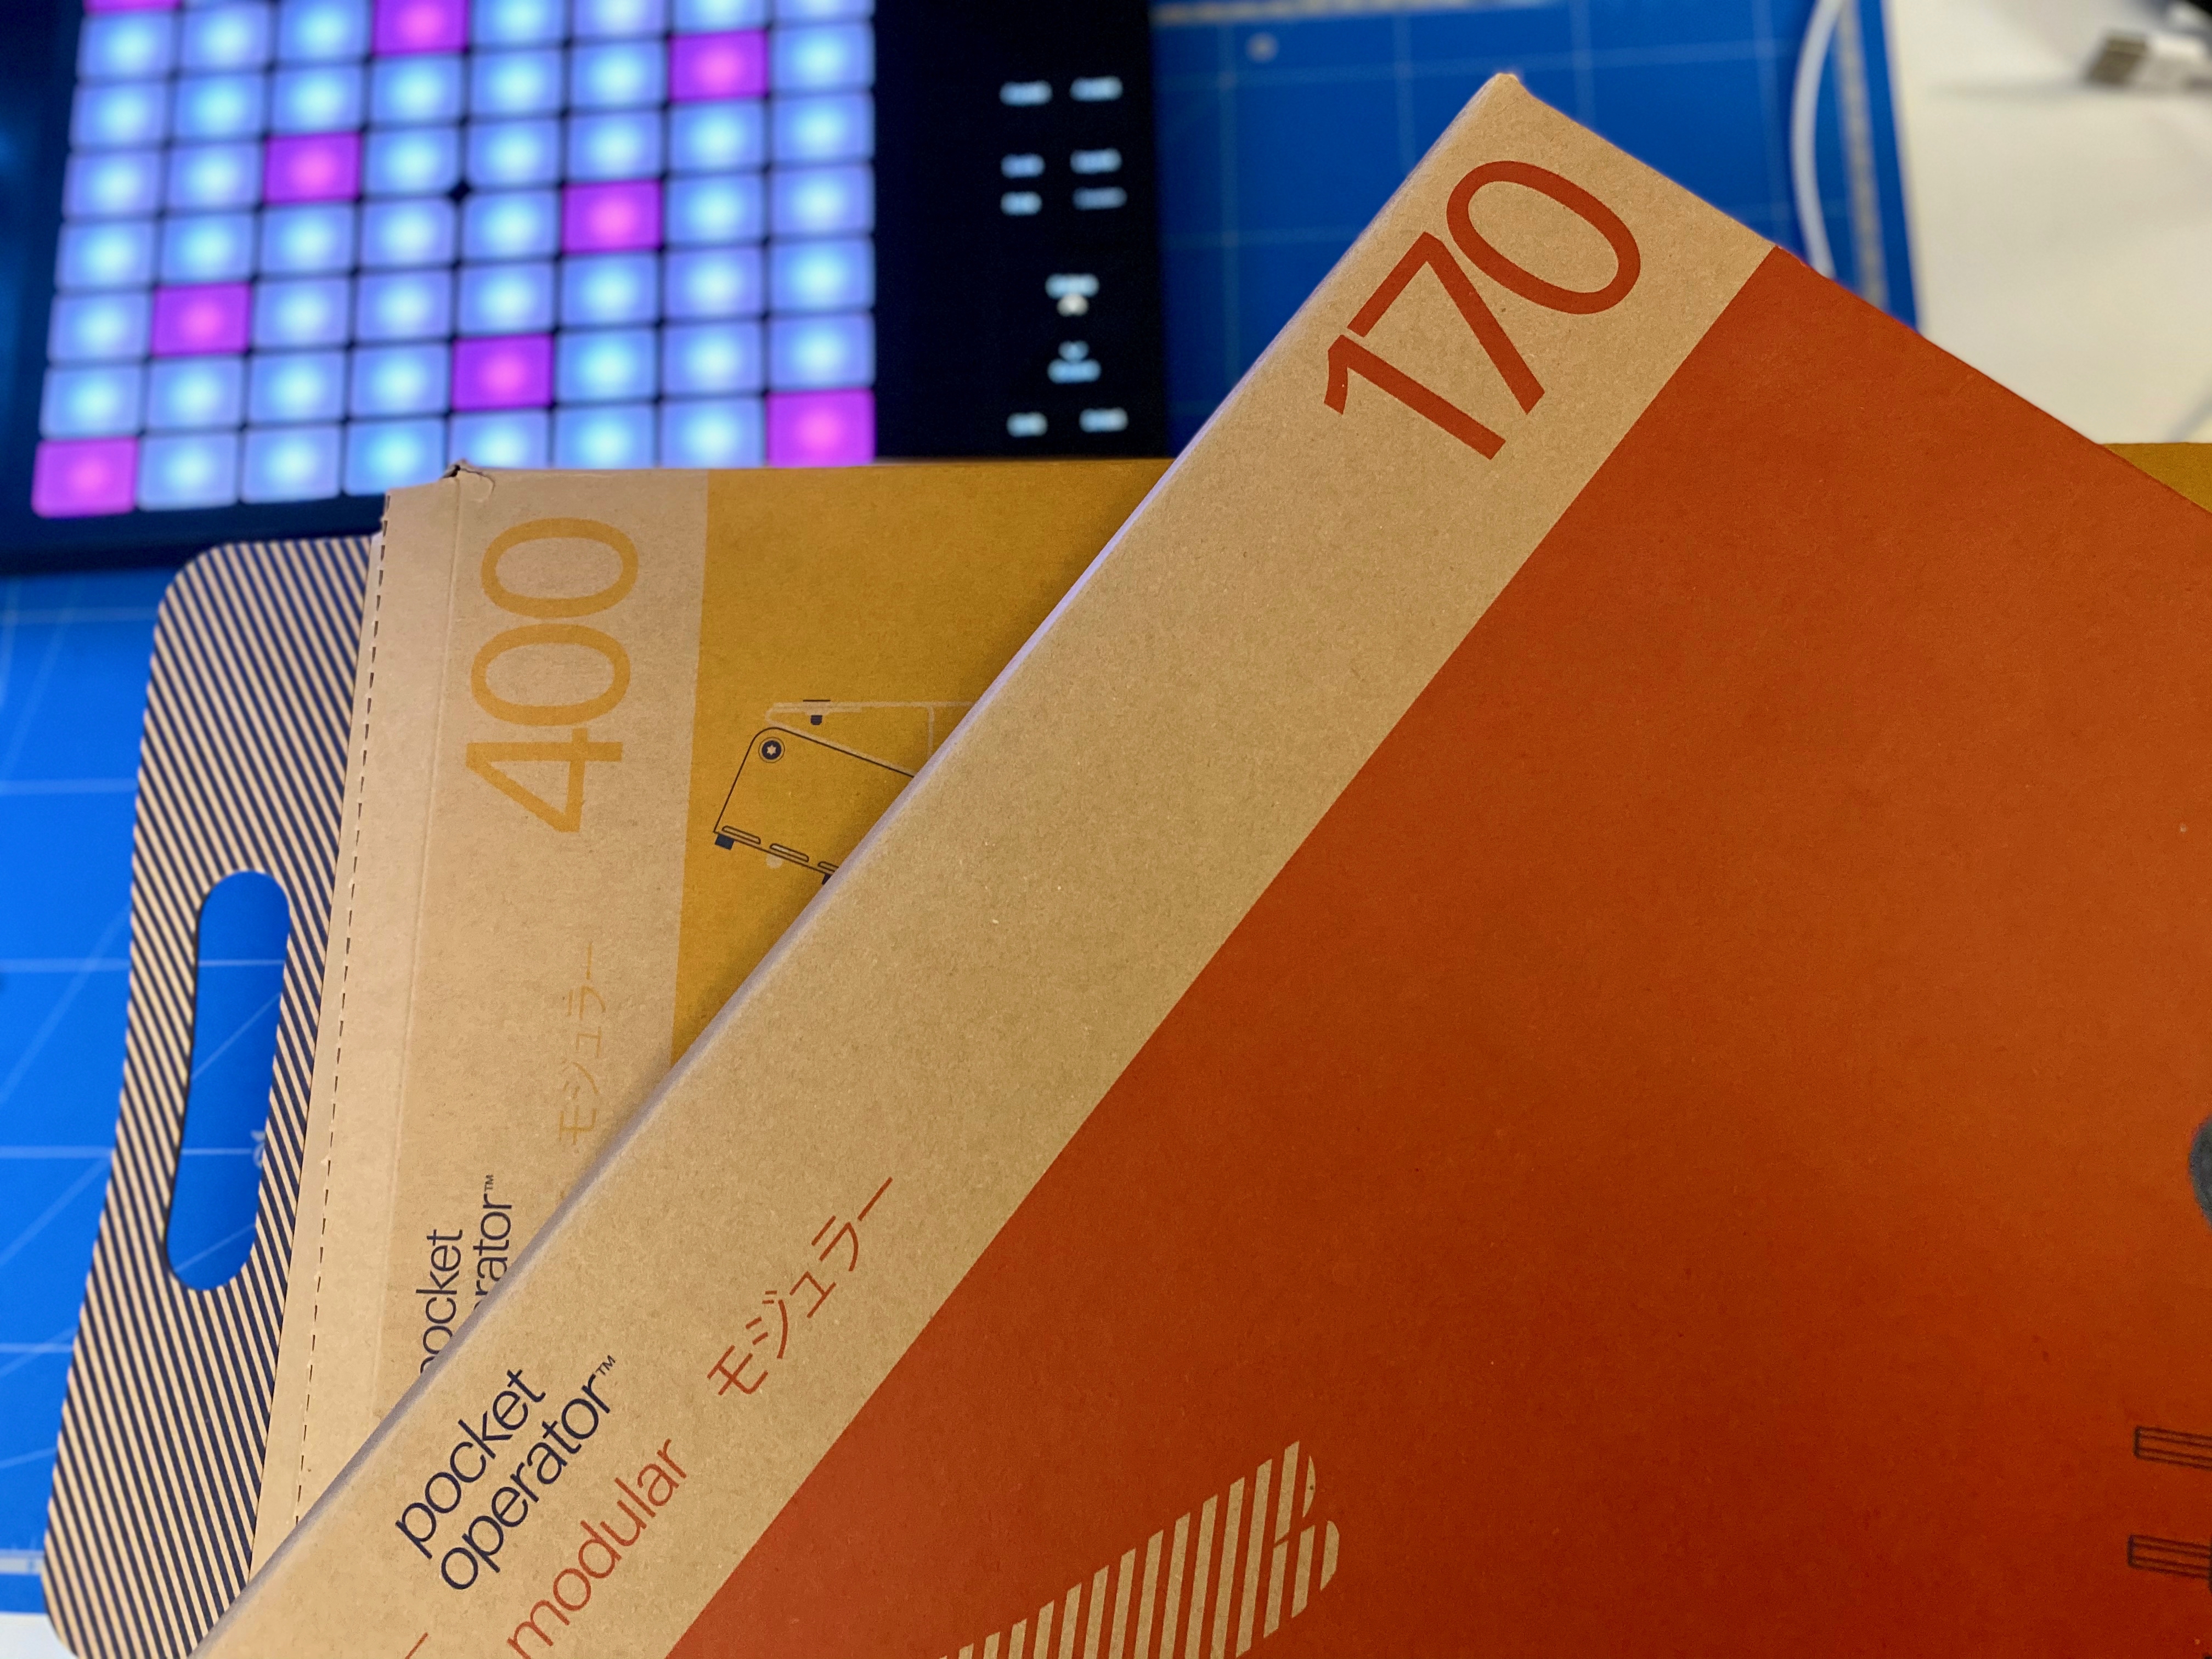
I’ve been super excited to get hold of Teenage Engineering Pocket Modular synths, so by the time the PO-400 and PO-170 arrived, I was itching to rip open the ‘flat pack’ boxes and get into it.

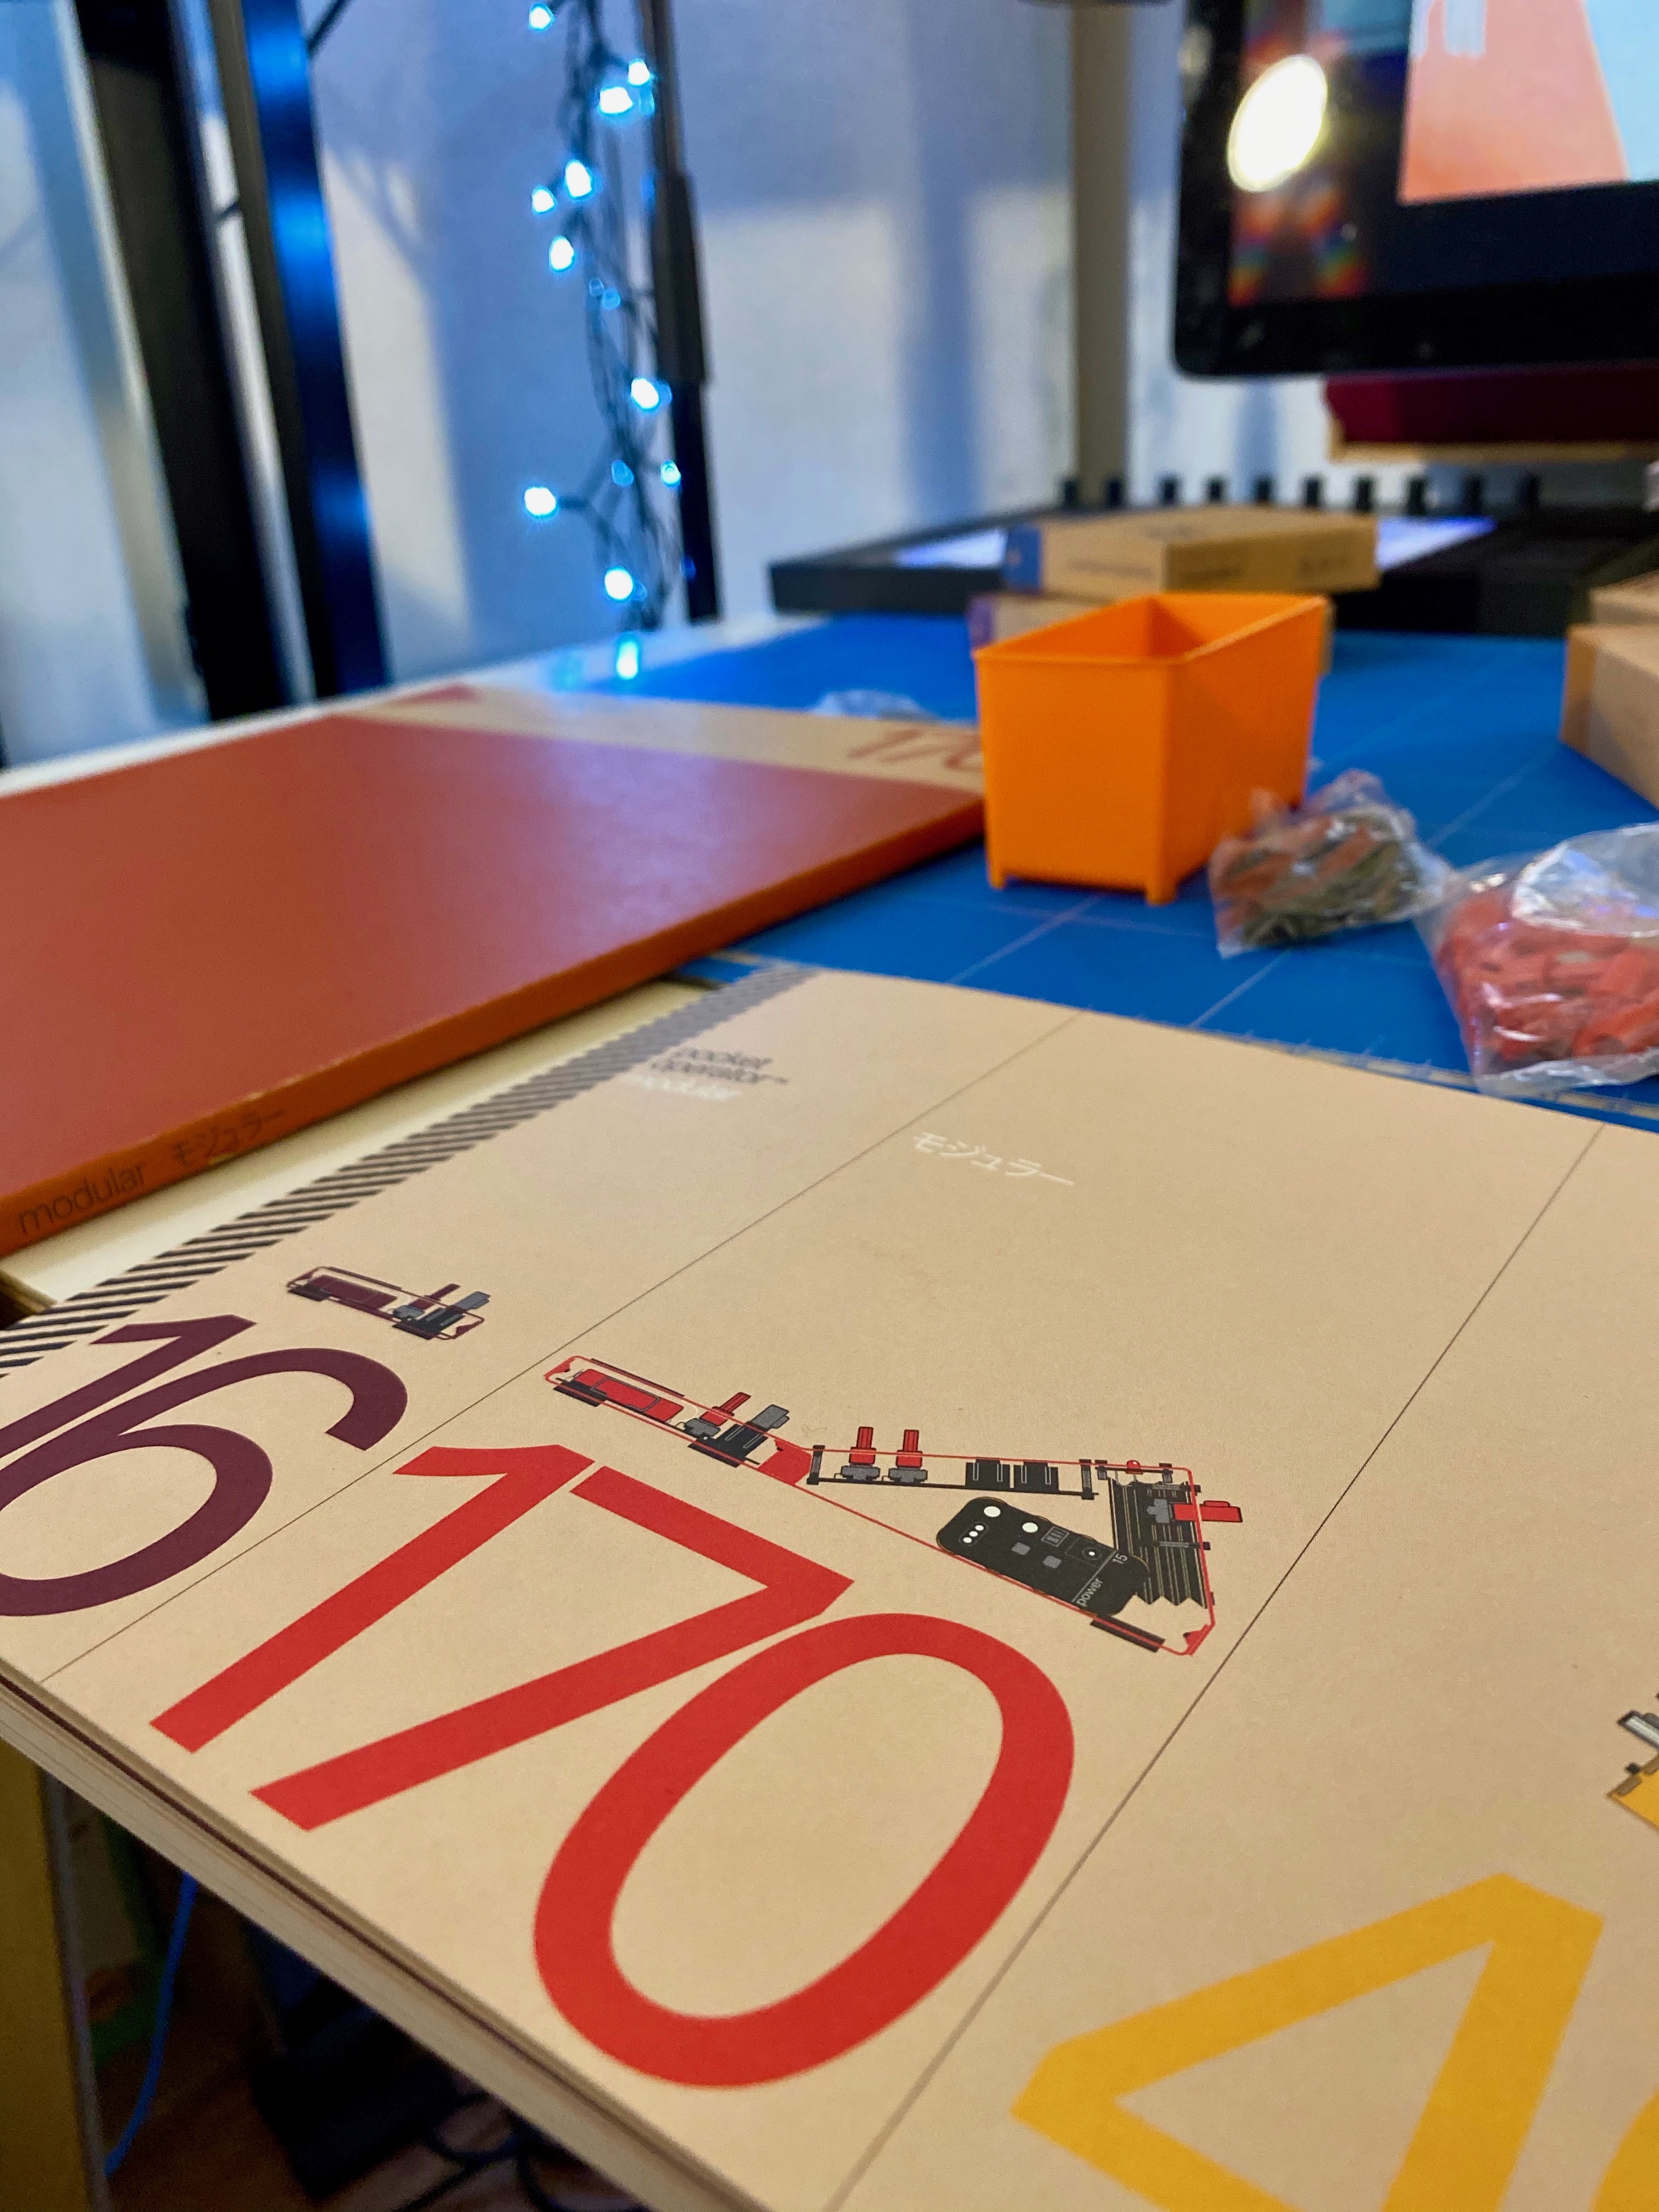
I thought I’d start with building the 170, as it’s a bit smaller, and I thought I should document the build process and then be able to give a couple of working tips to help others get their build right the ‘first time’.


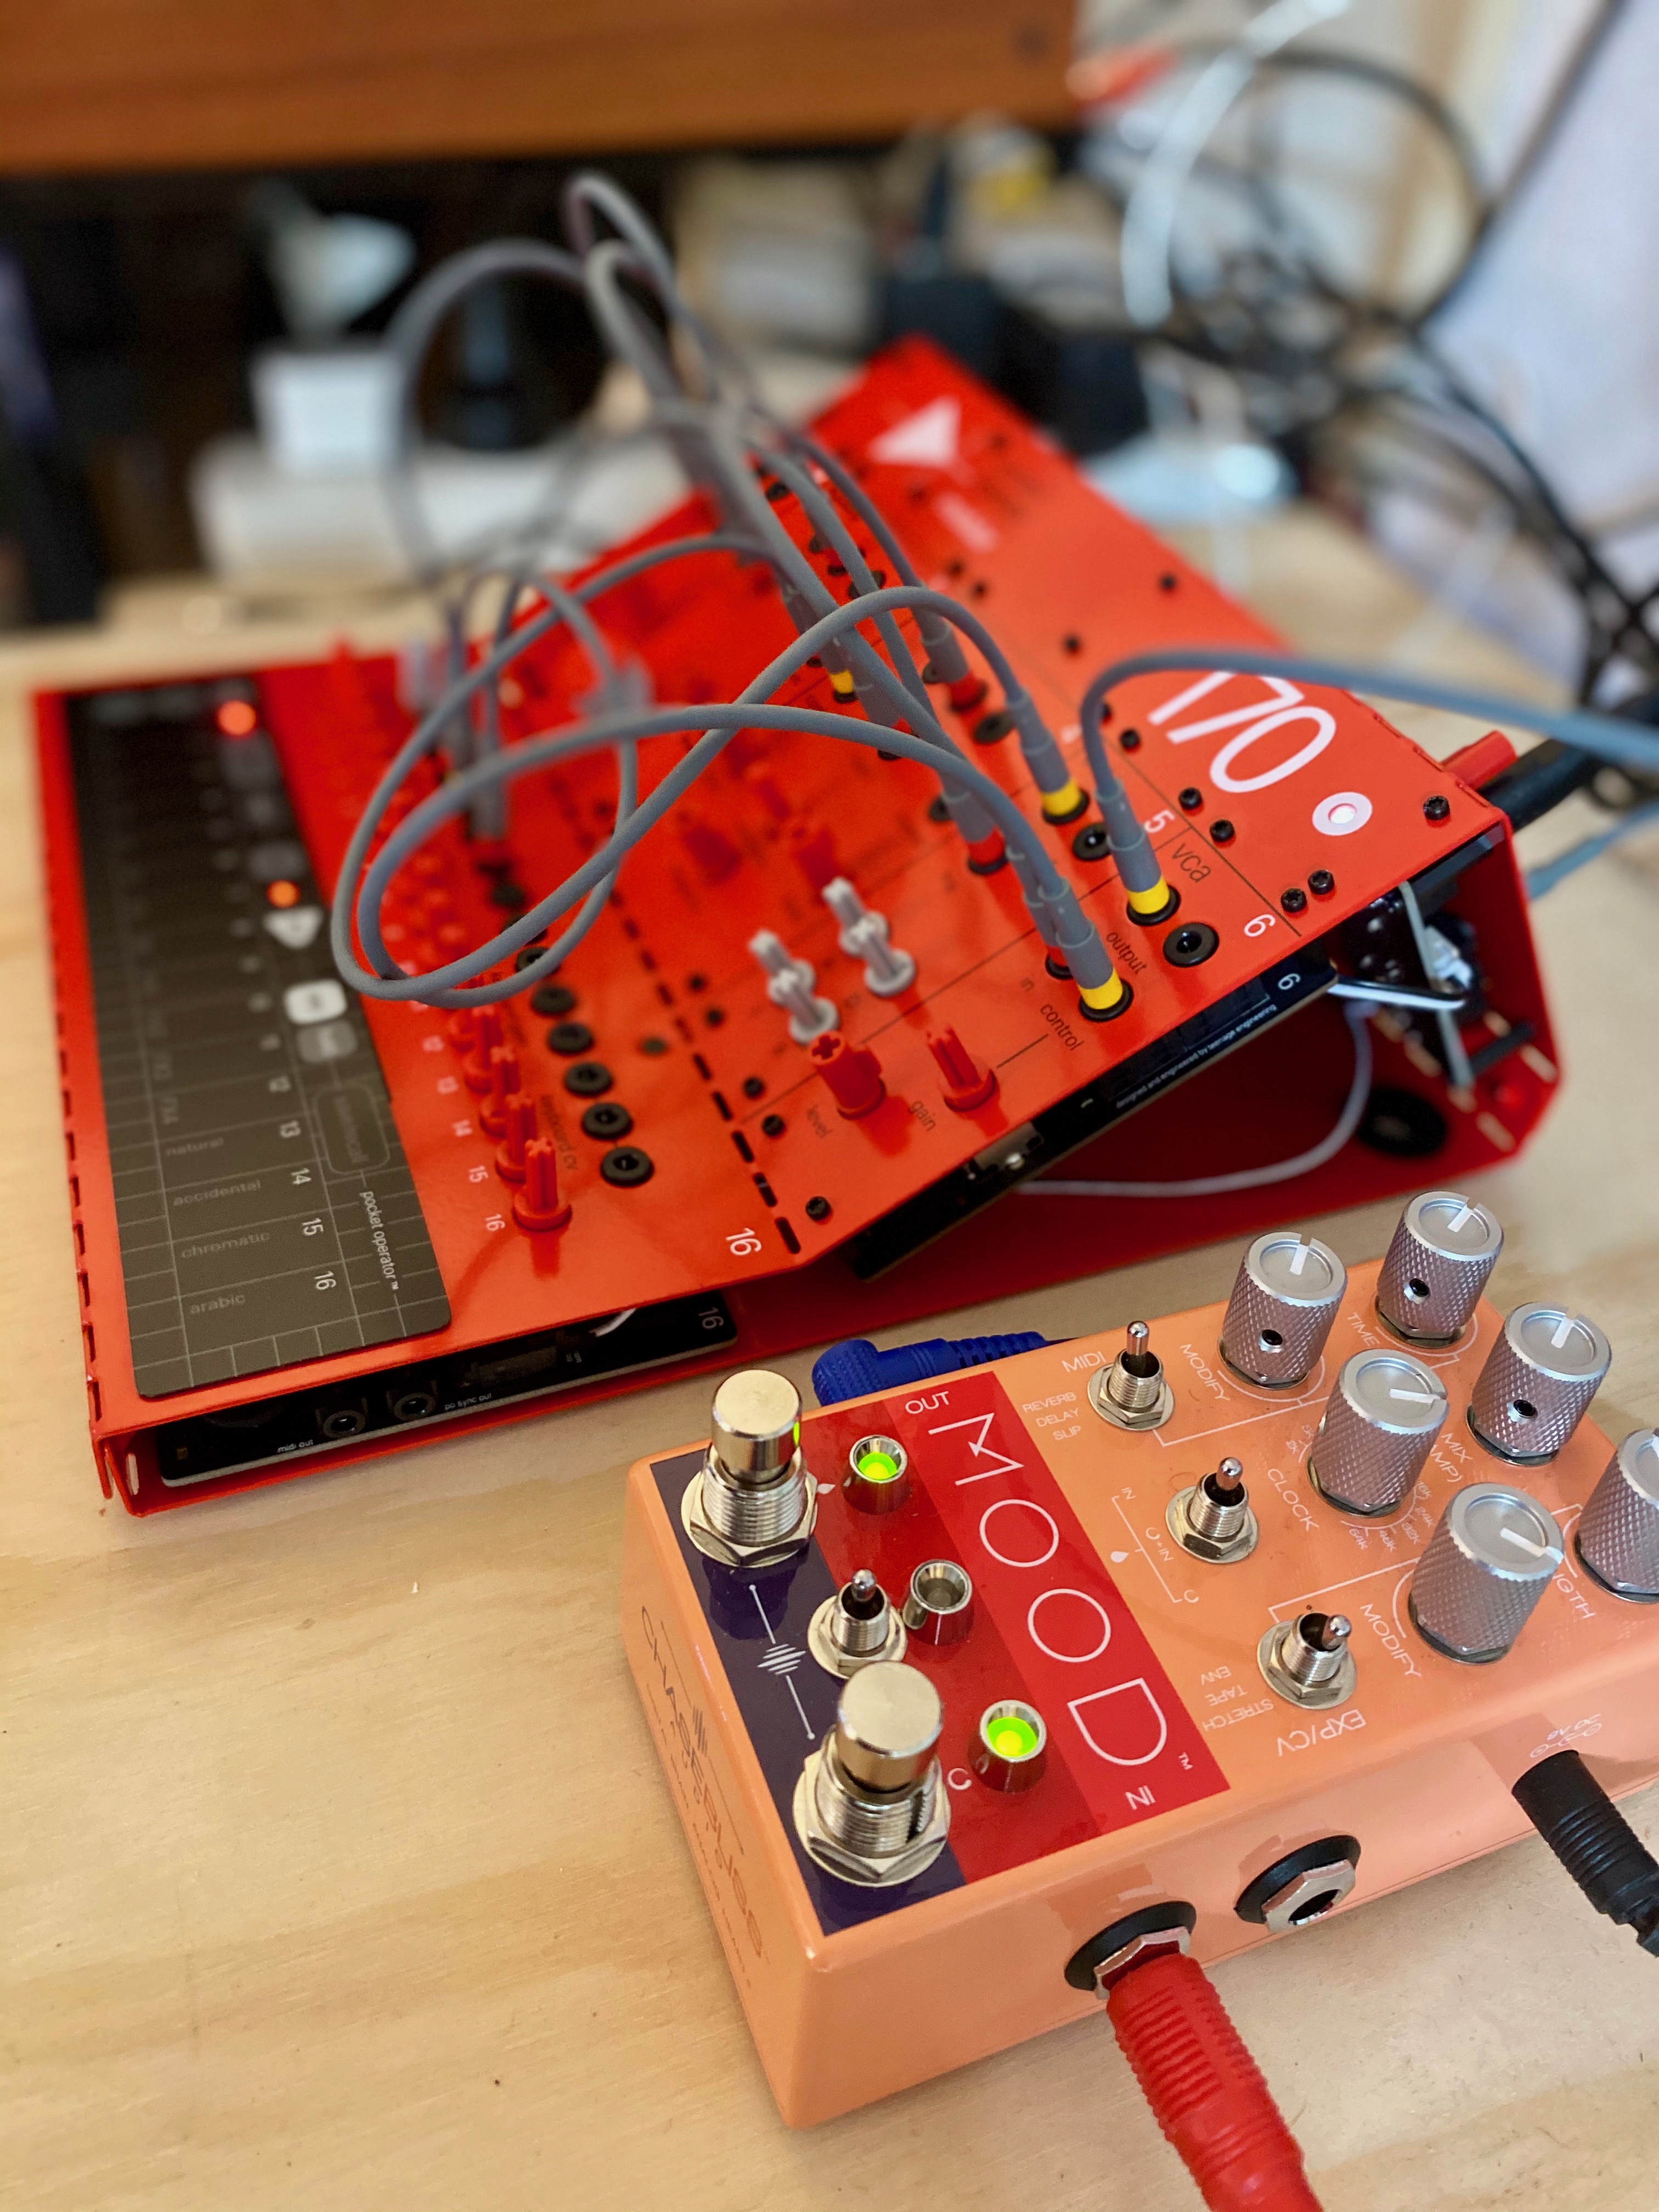
The other thing I am a sucker for is a good aesthetic. Teenage Engineering does this down to the smallest minutia…. packaging. leads. font. graphics. dimensions. colour. I love it all.
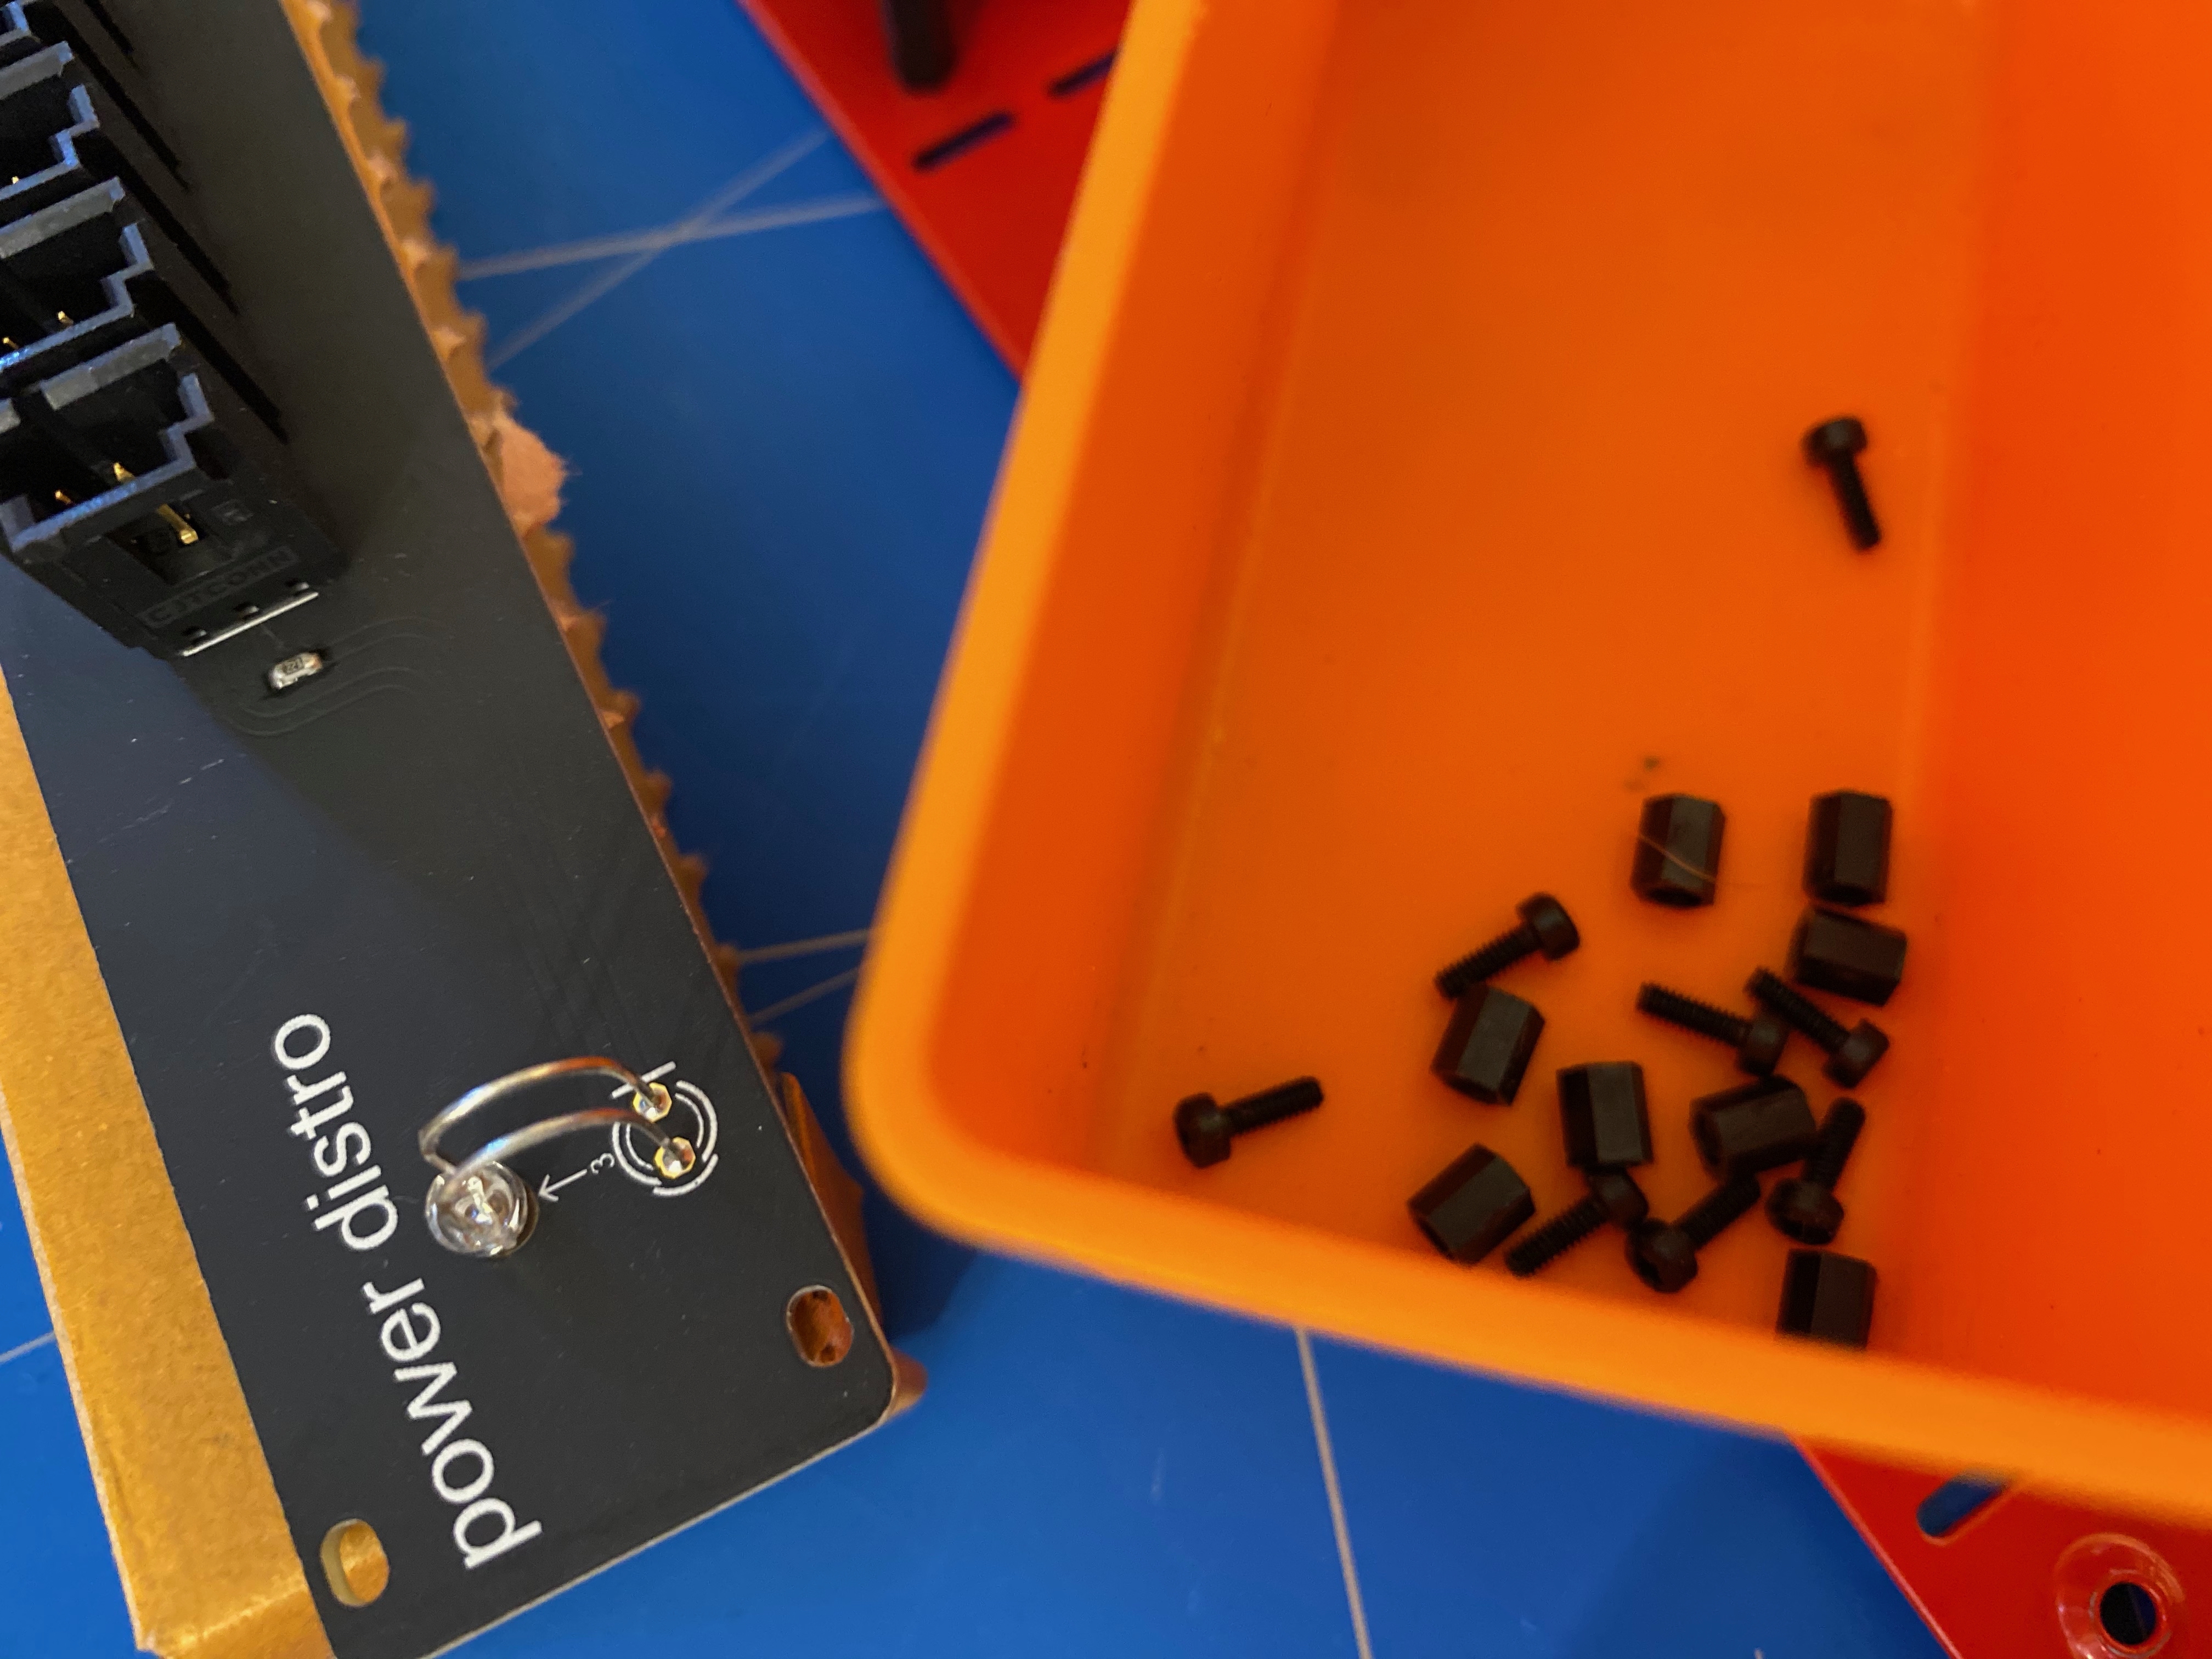
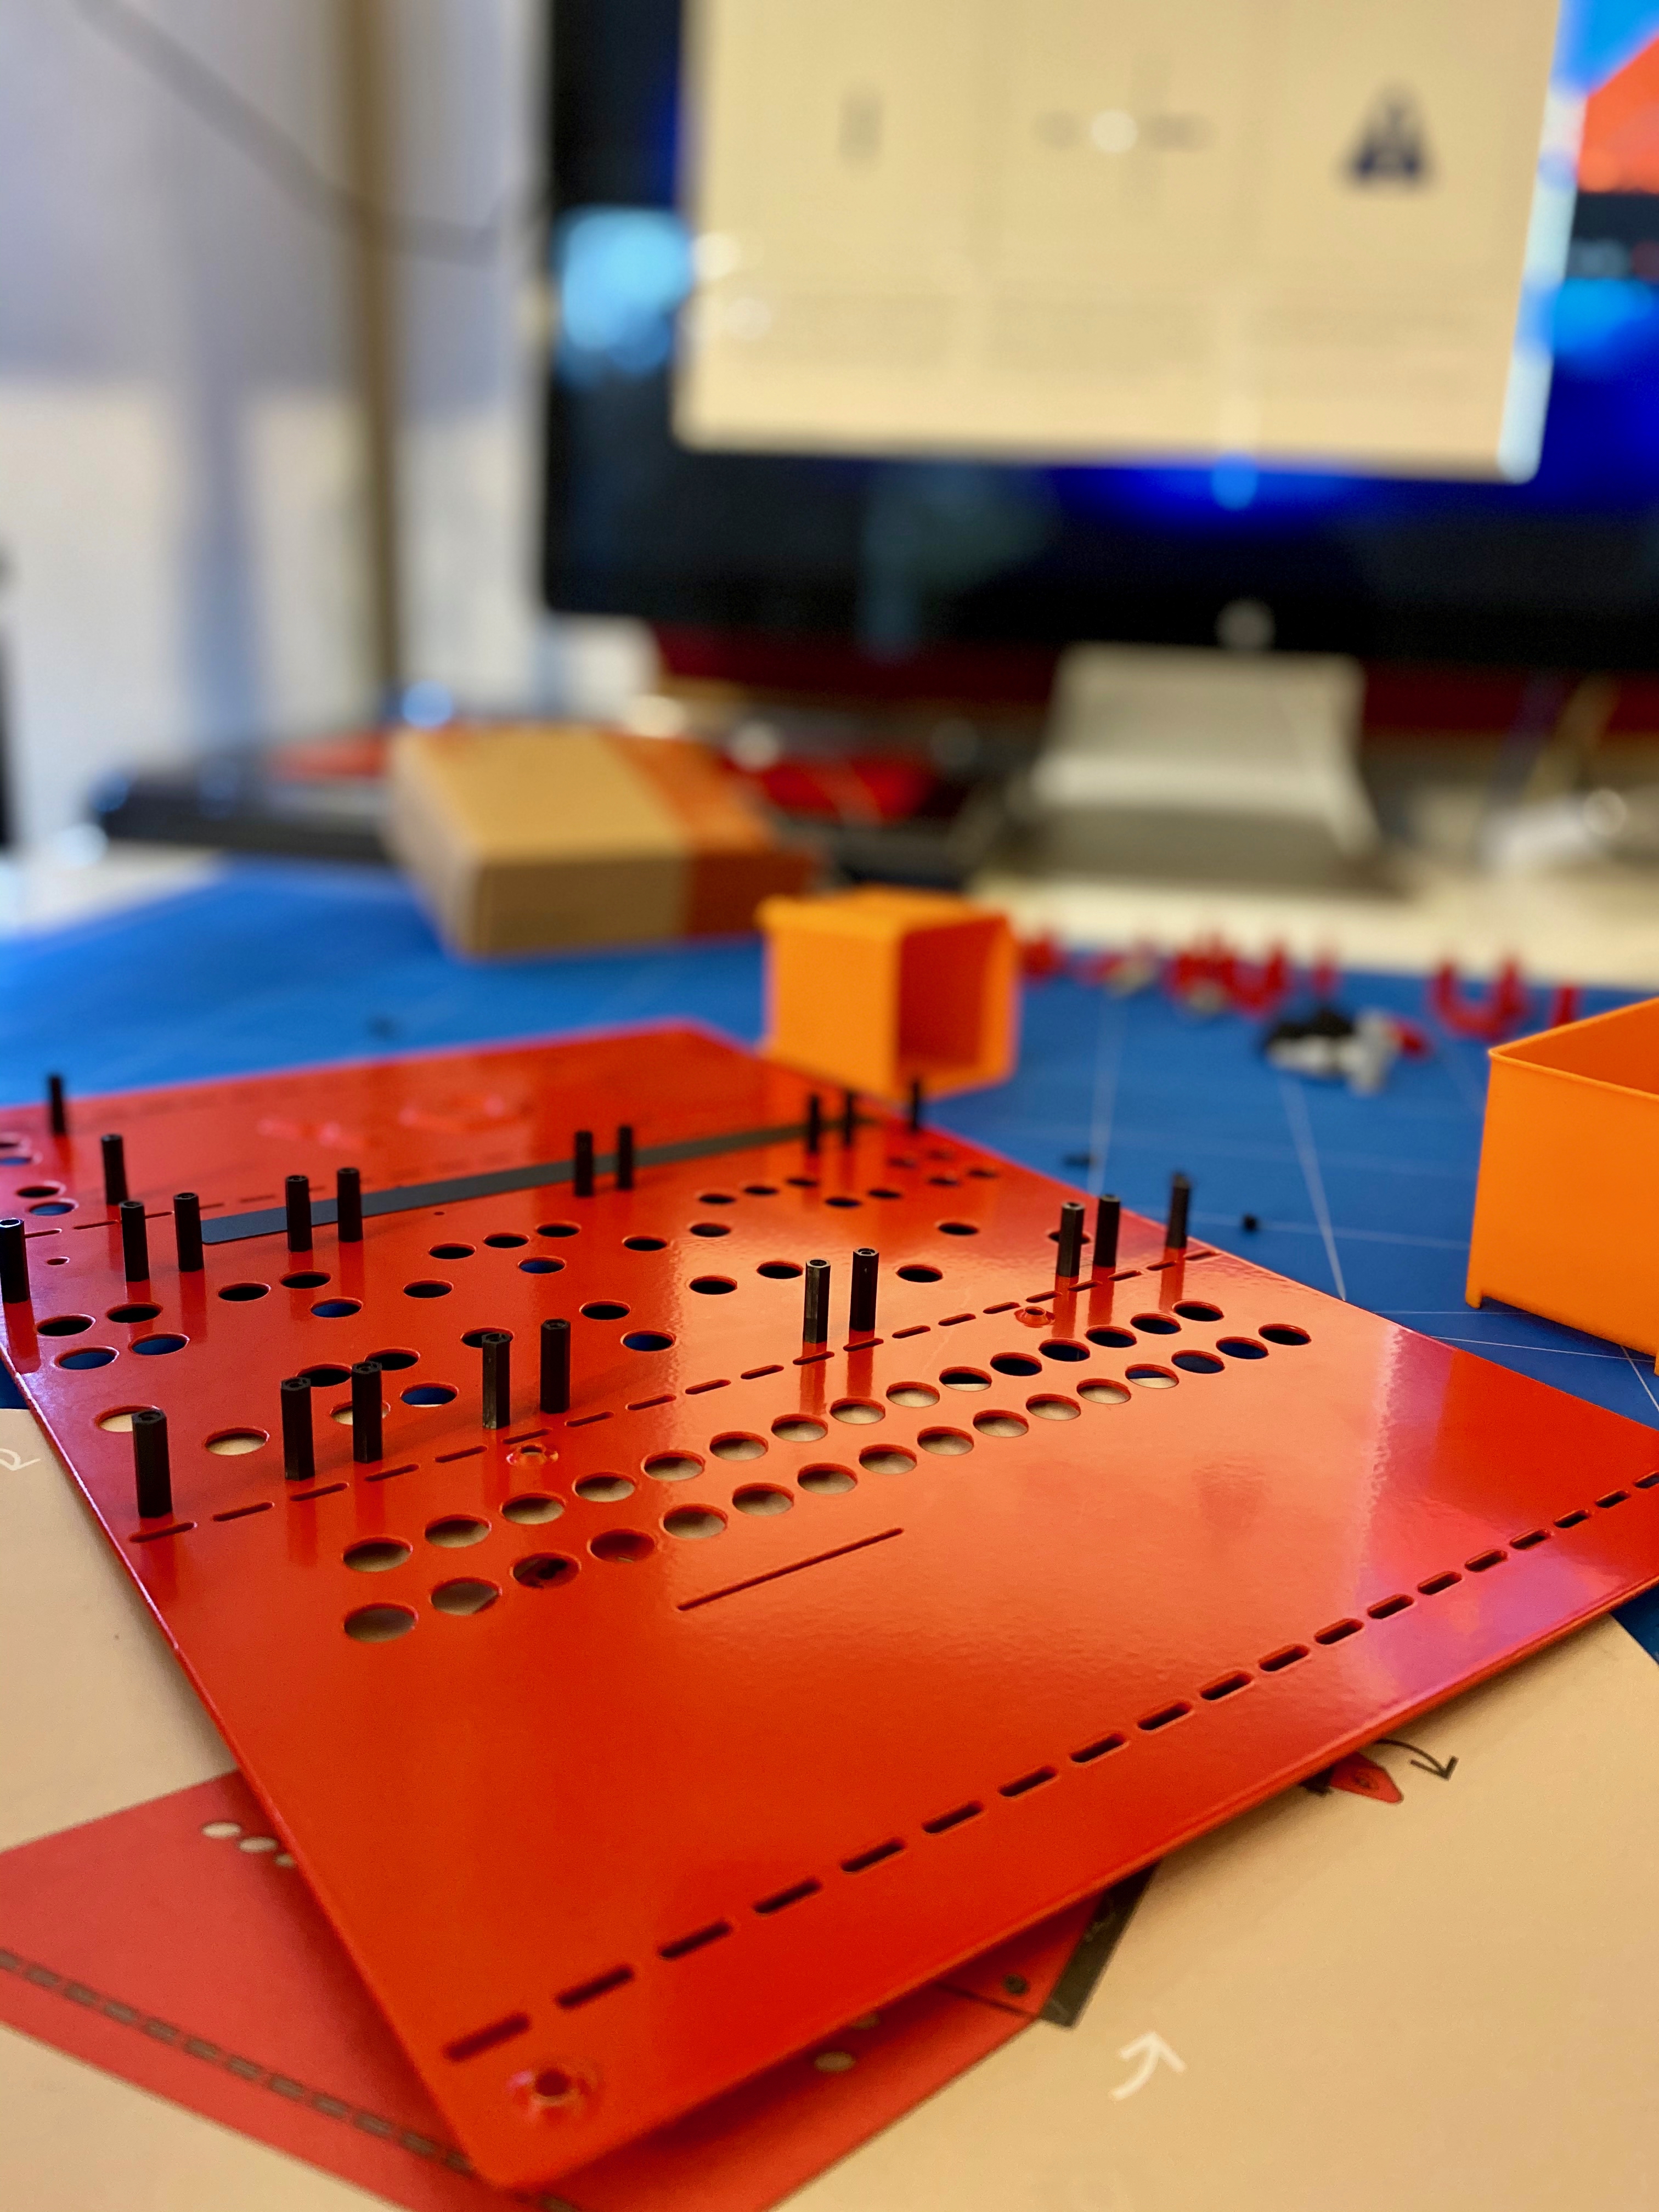


My first piece of advice for fellow builders is to put all of the screws and small pieces in small containers. I did this to ensure that they didn’t roll of my table or get lost amongst the stuff on my desk.
Second piece of advice is to attach the power distro board first. If you put the modules in to start with, you’ll find that some of the power distro screws are difficult to reach, and you really only want to be putting in these screws once, as they have the potential to thread the metal casing if tighten too much, or are screwed in and out too many times.
FWIW, I attached the spacers to the case before I attached them to the modules. This is different to what the build guide suggests, but I found that it worked really well.


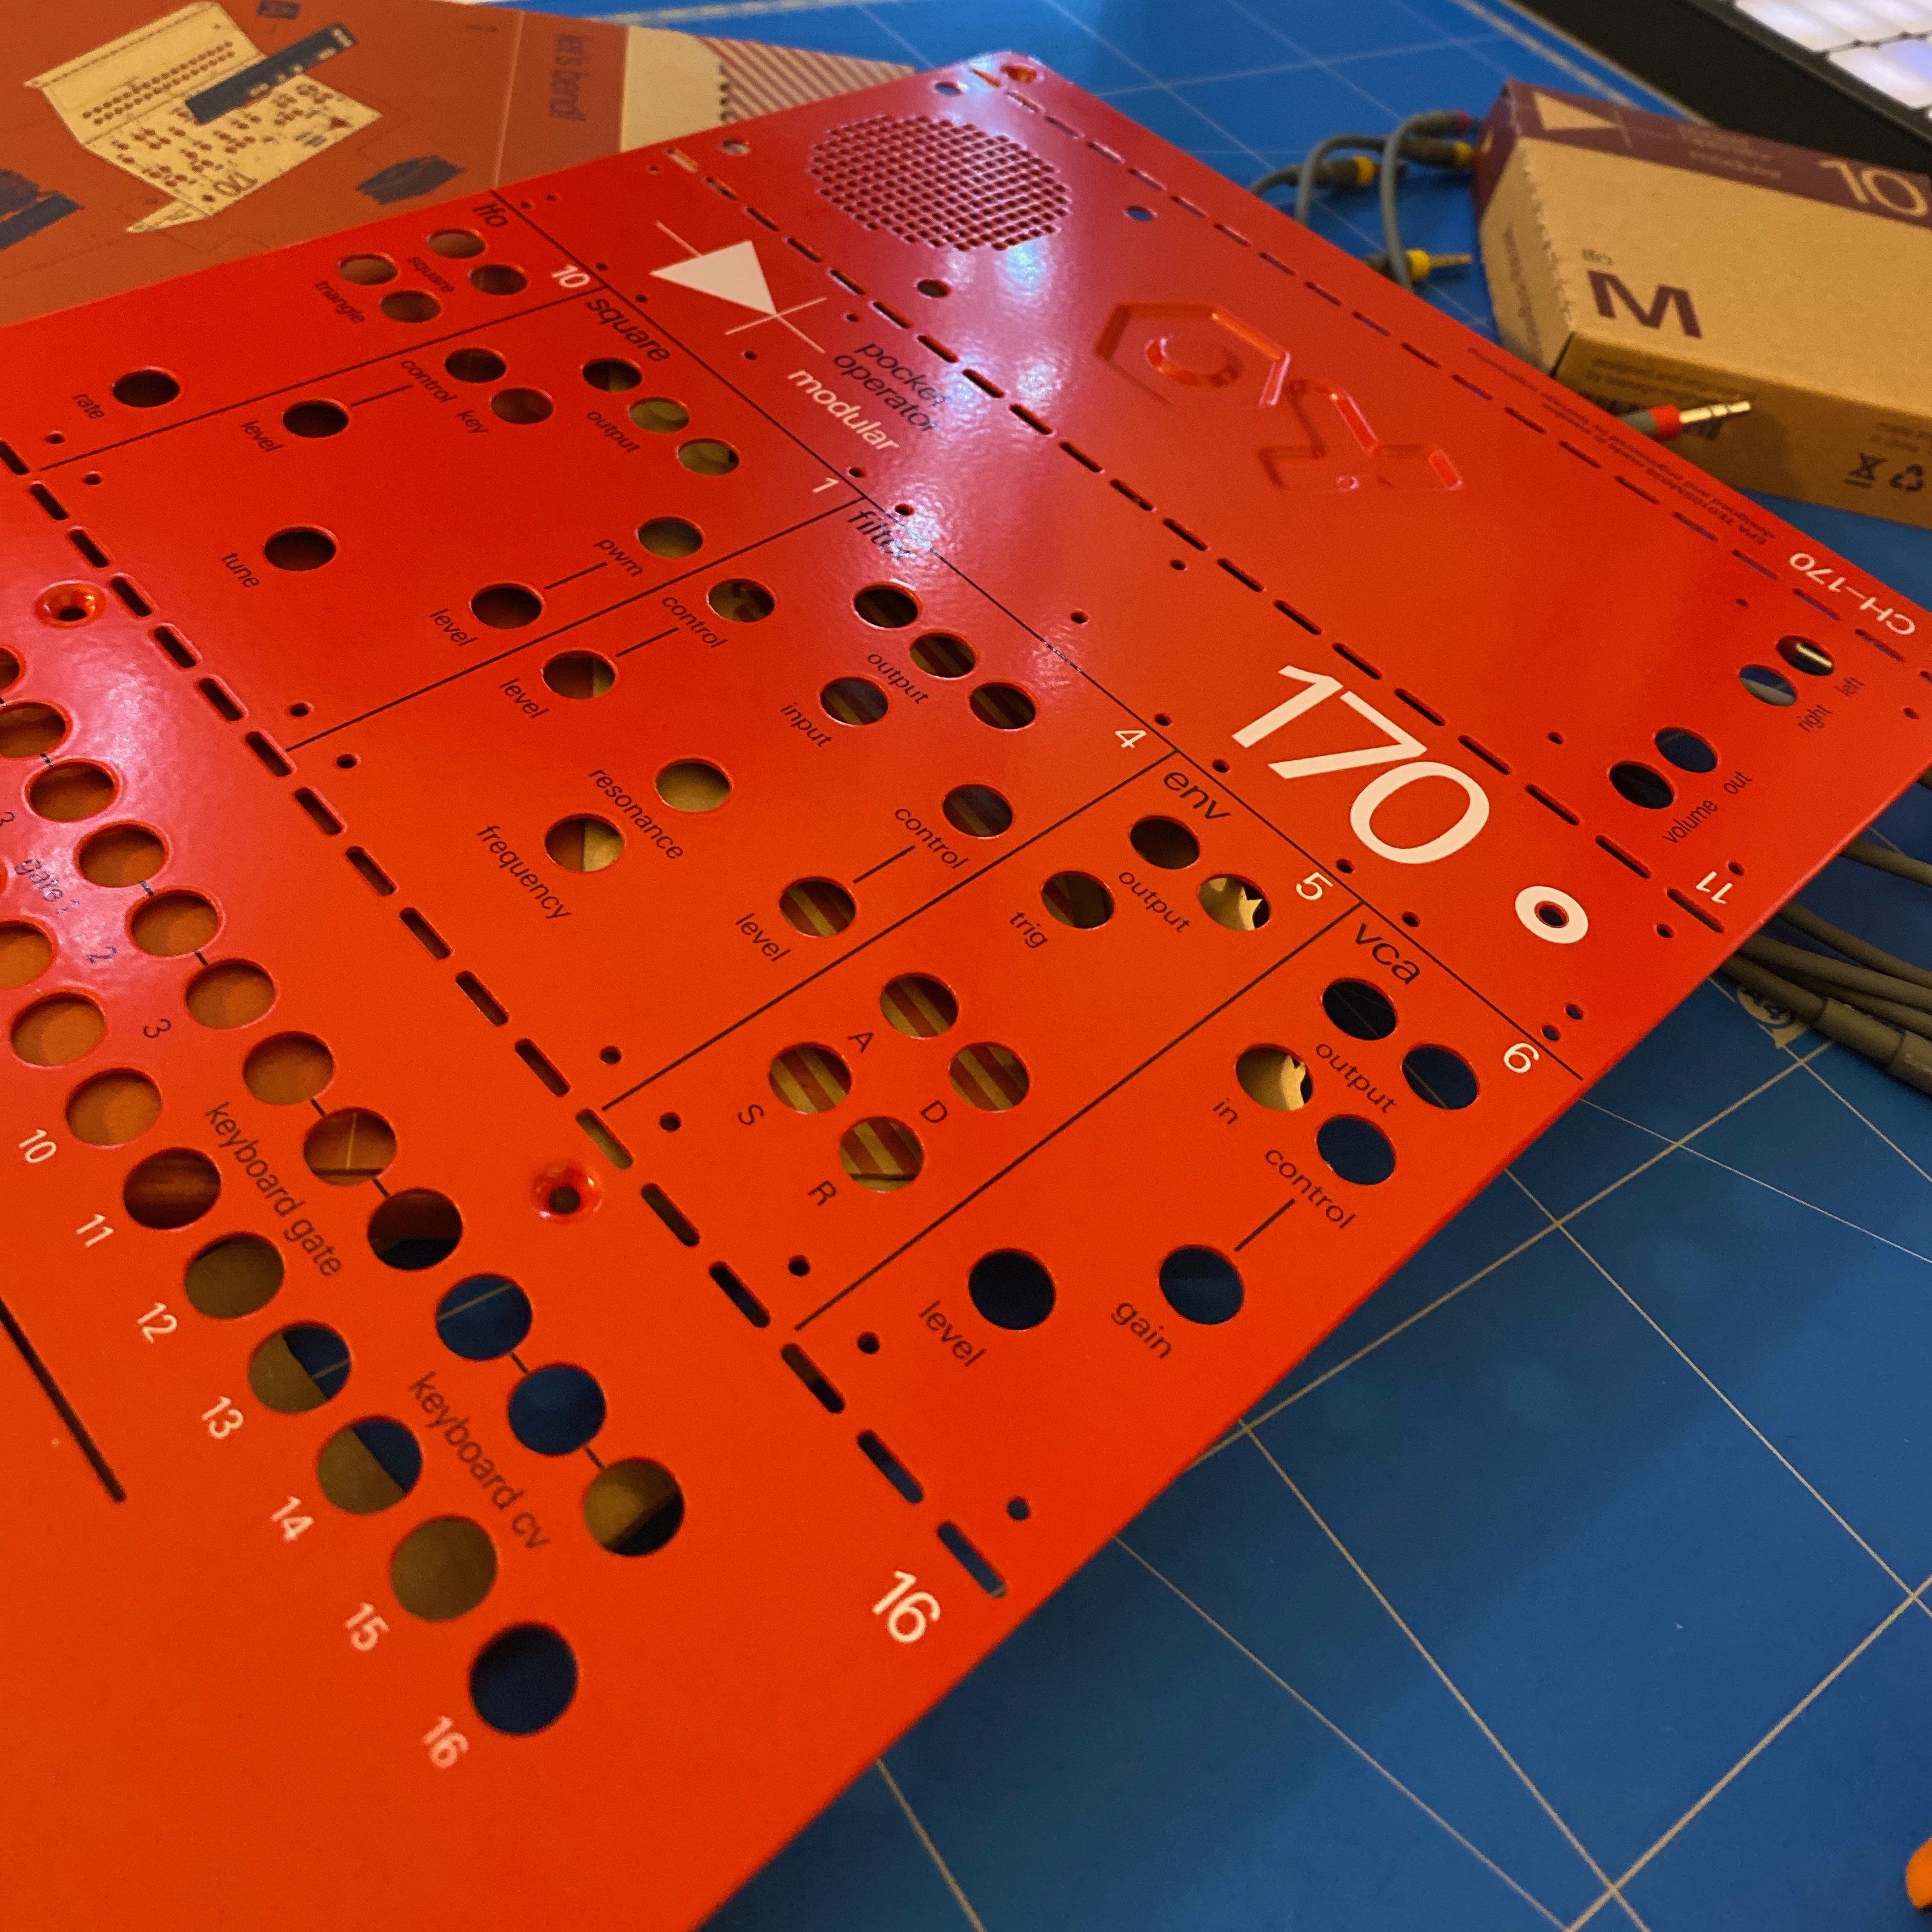
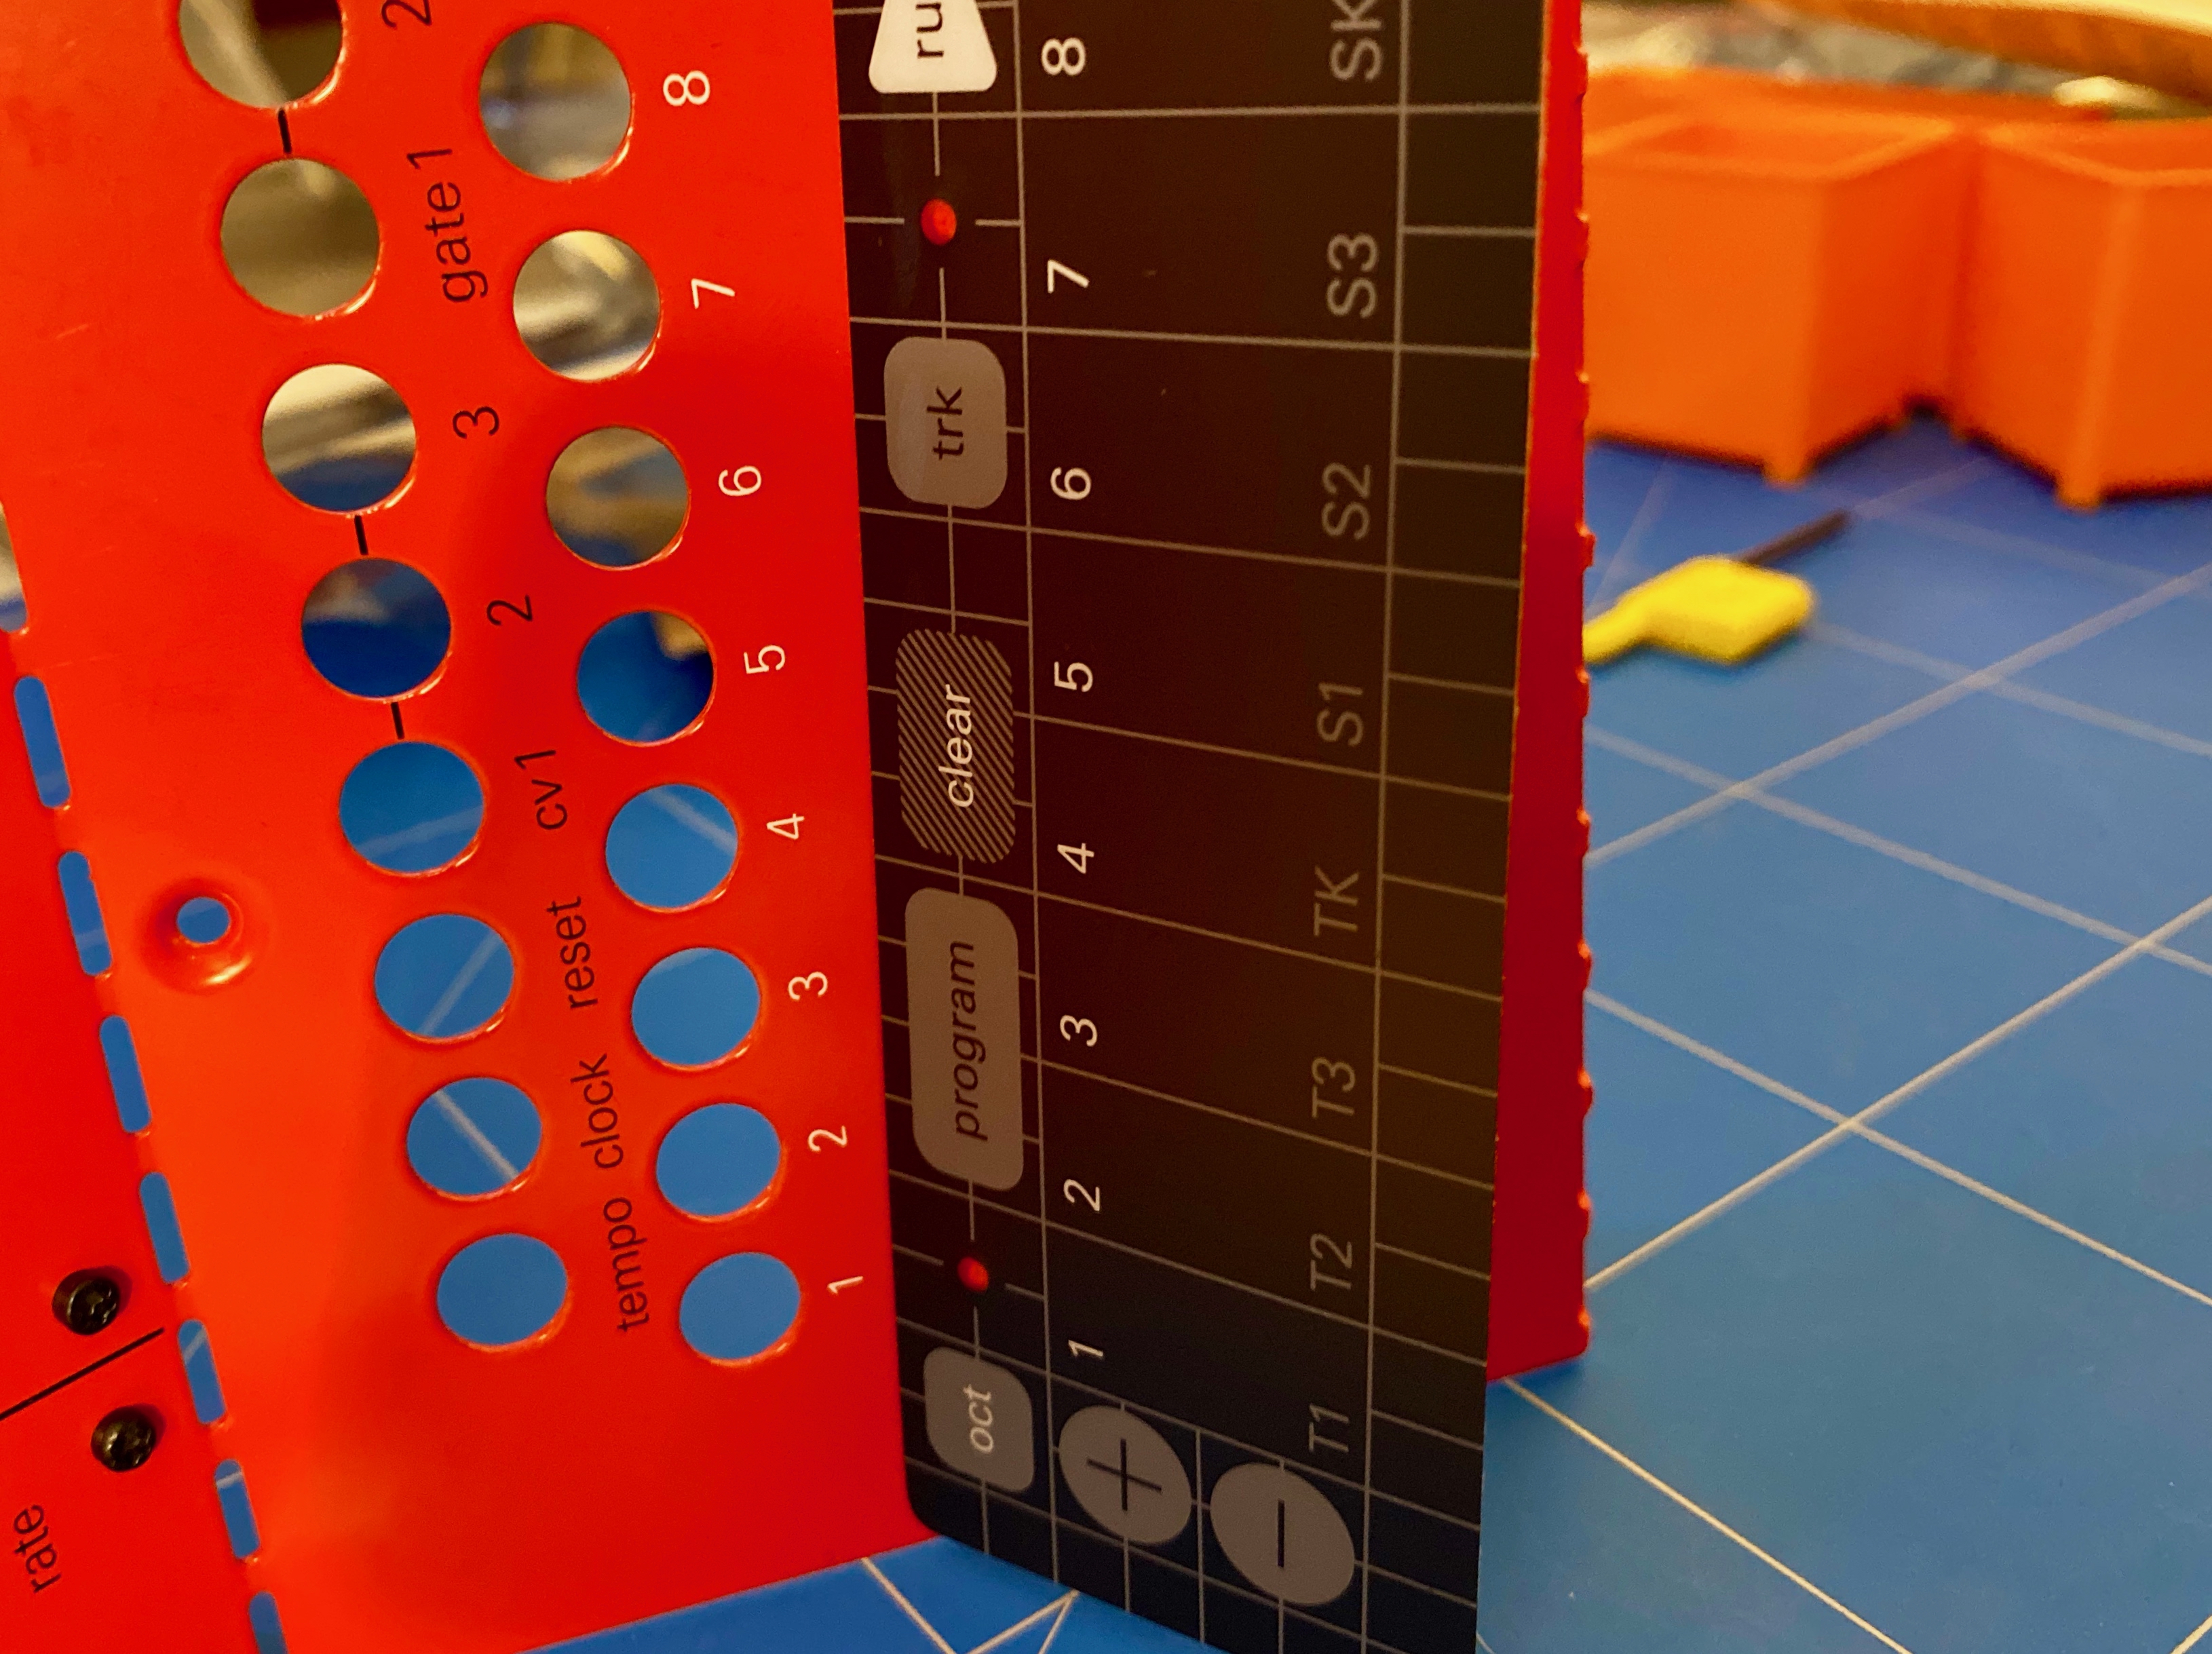
I attached the power distro, modules and speaker before bending the metal casing. The speaker fits pretty snug in the space, so when you’re attaching the modules to the power distro, connect them to the centre plugs, because they won’t fit next to the speaker when you bend the case into place.
The bending itself feels like a critical point in the build that you don’t want to get wrong. I bent by pushing the edges into the table top. I was able to do it slow, methodically, with an even pressure that allowed for good results at the bend points.

After bending the metal frame, attaching the keyboard module with its rubber stopper was really straight forward. A tip for attaching the stick-on key-bed is to spend a little time identifying the horizontal alignment and centre position, because this is a part you are only going to be wanting to attach one time.
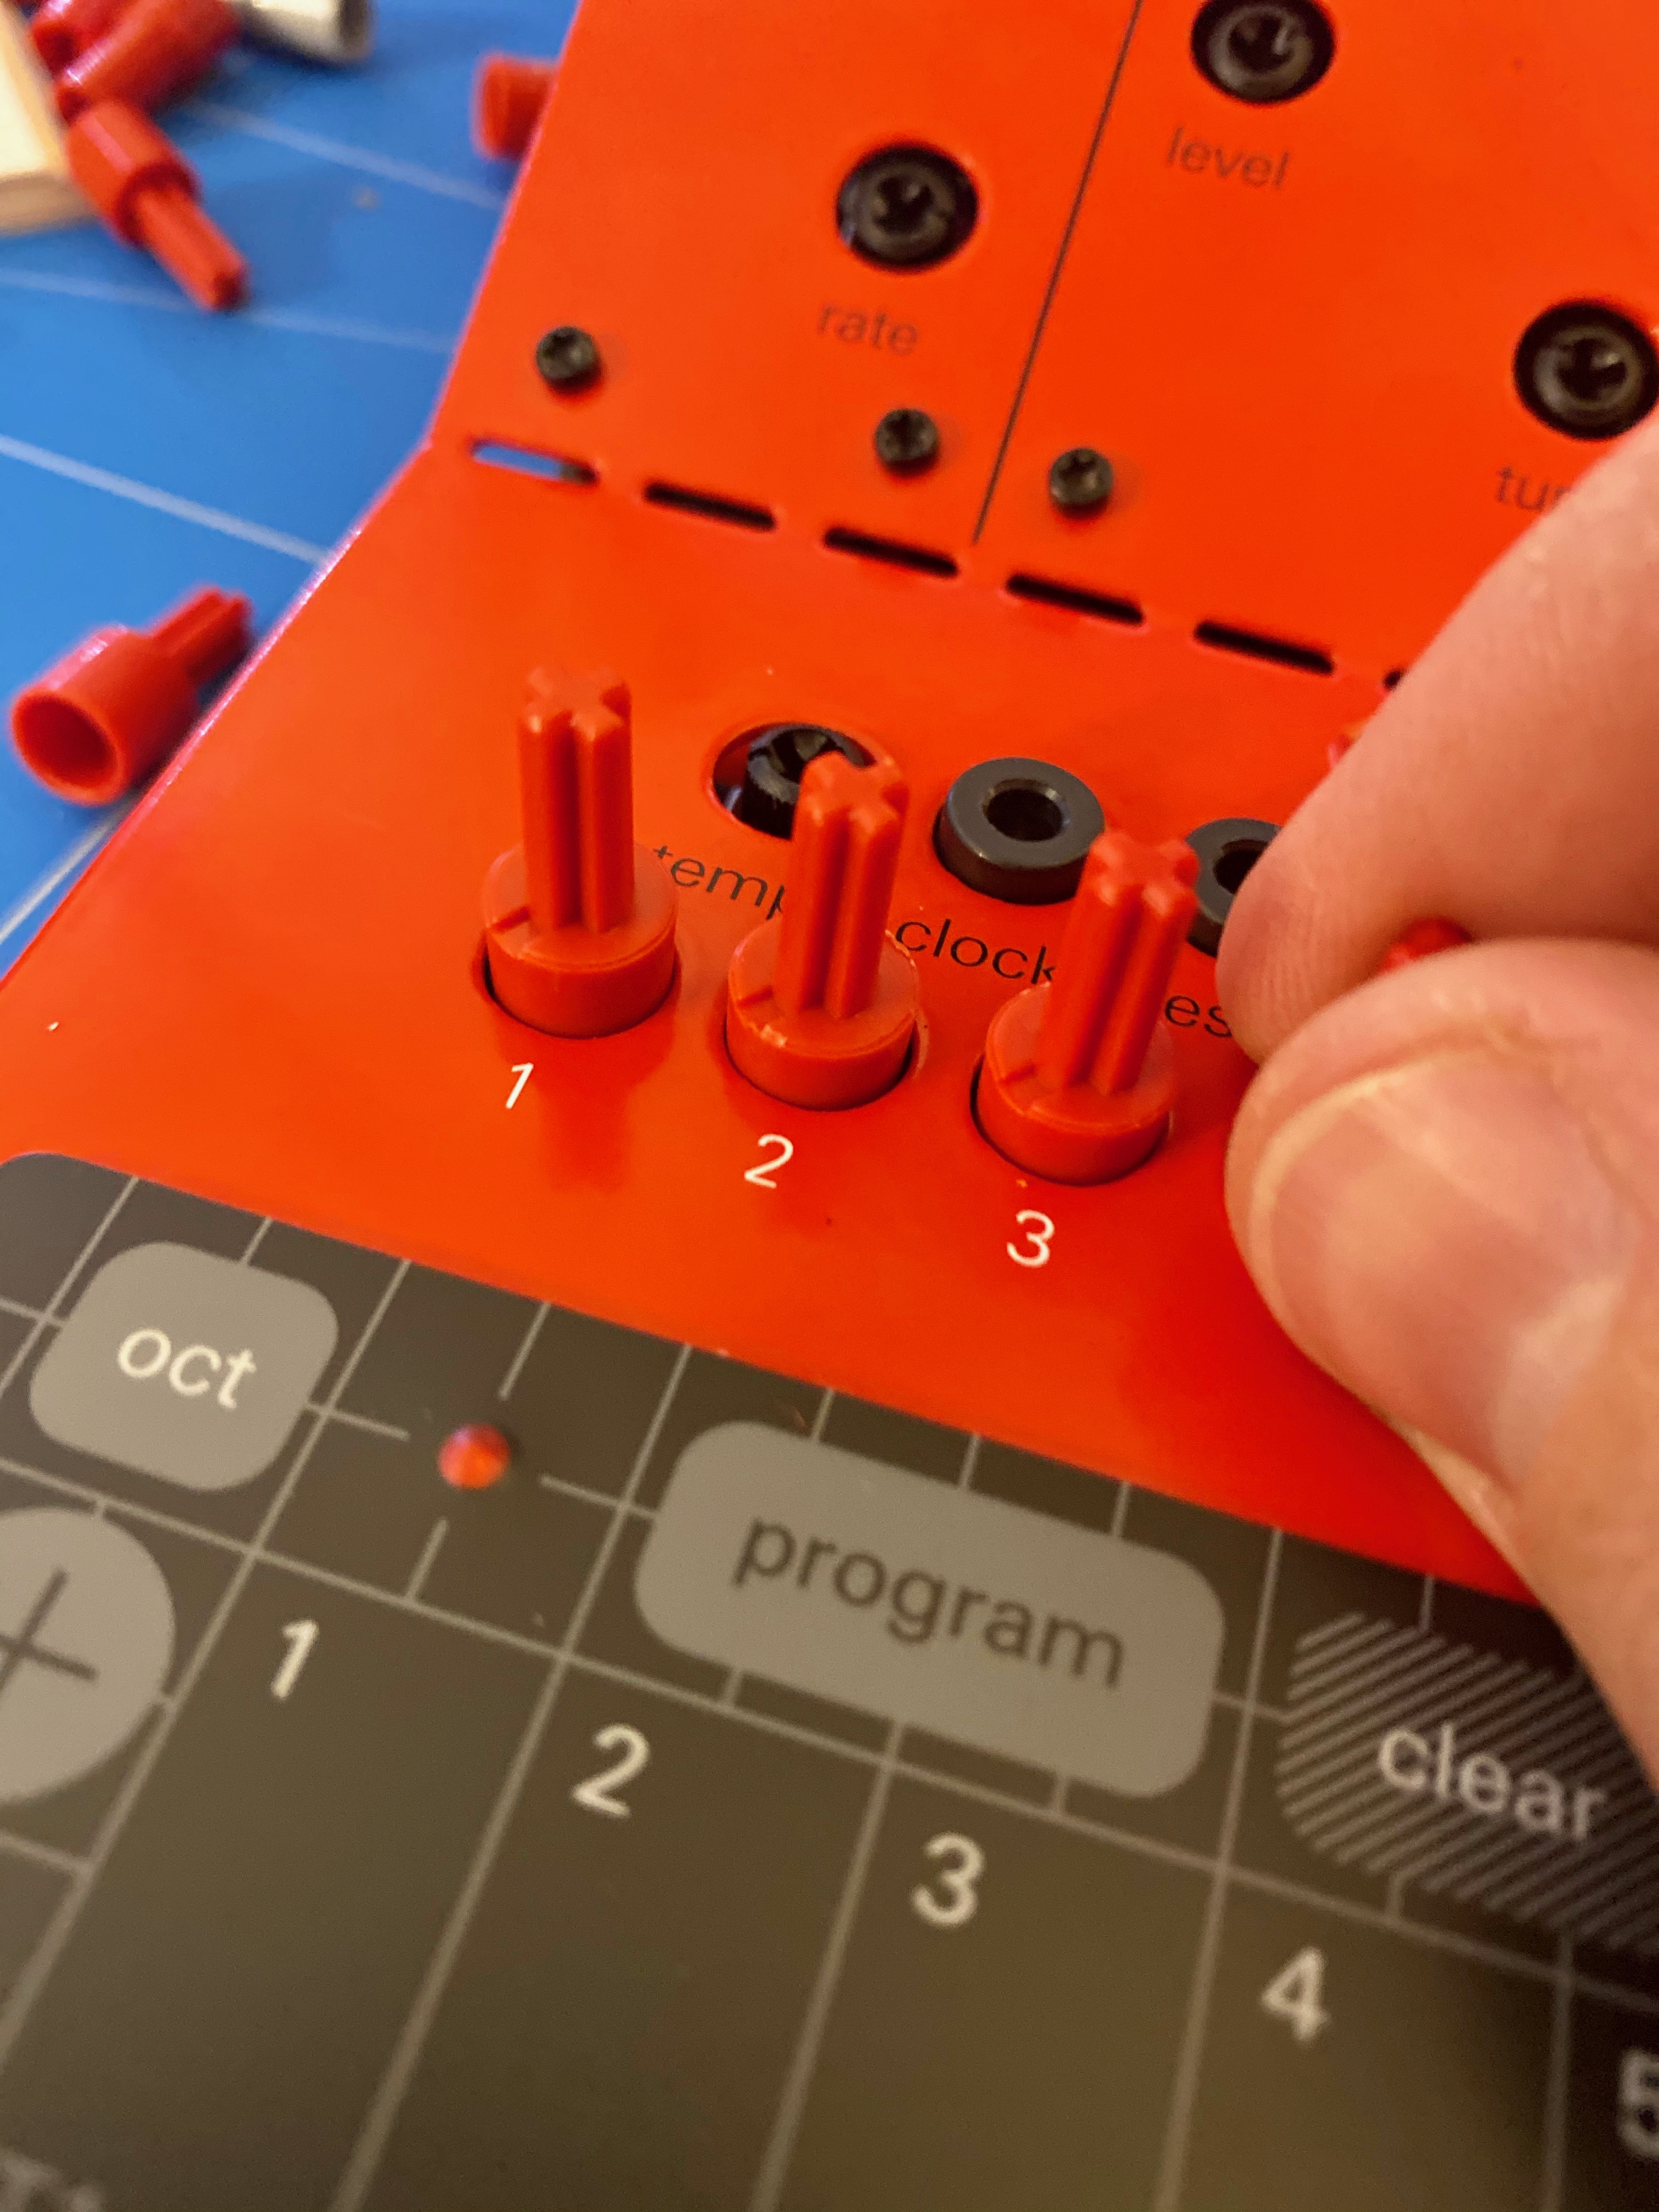
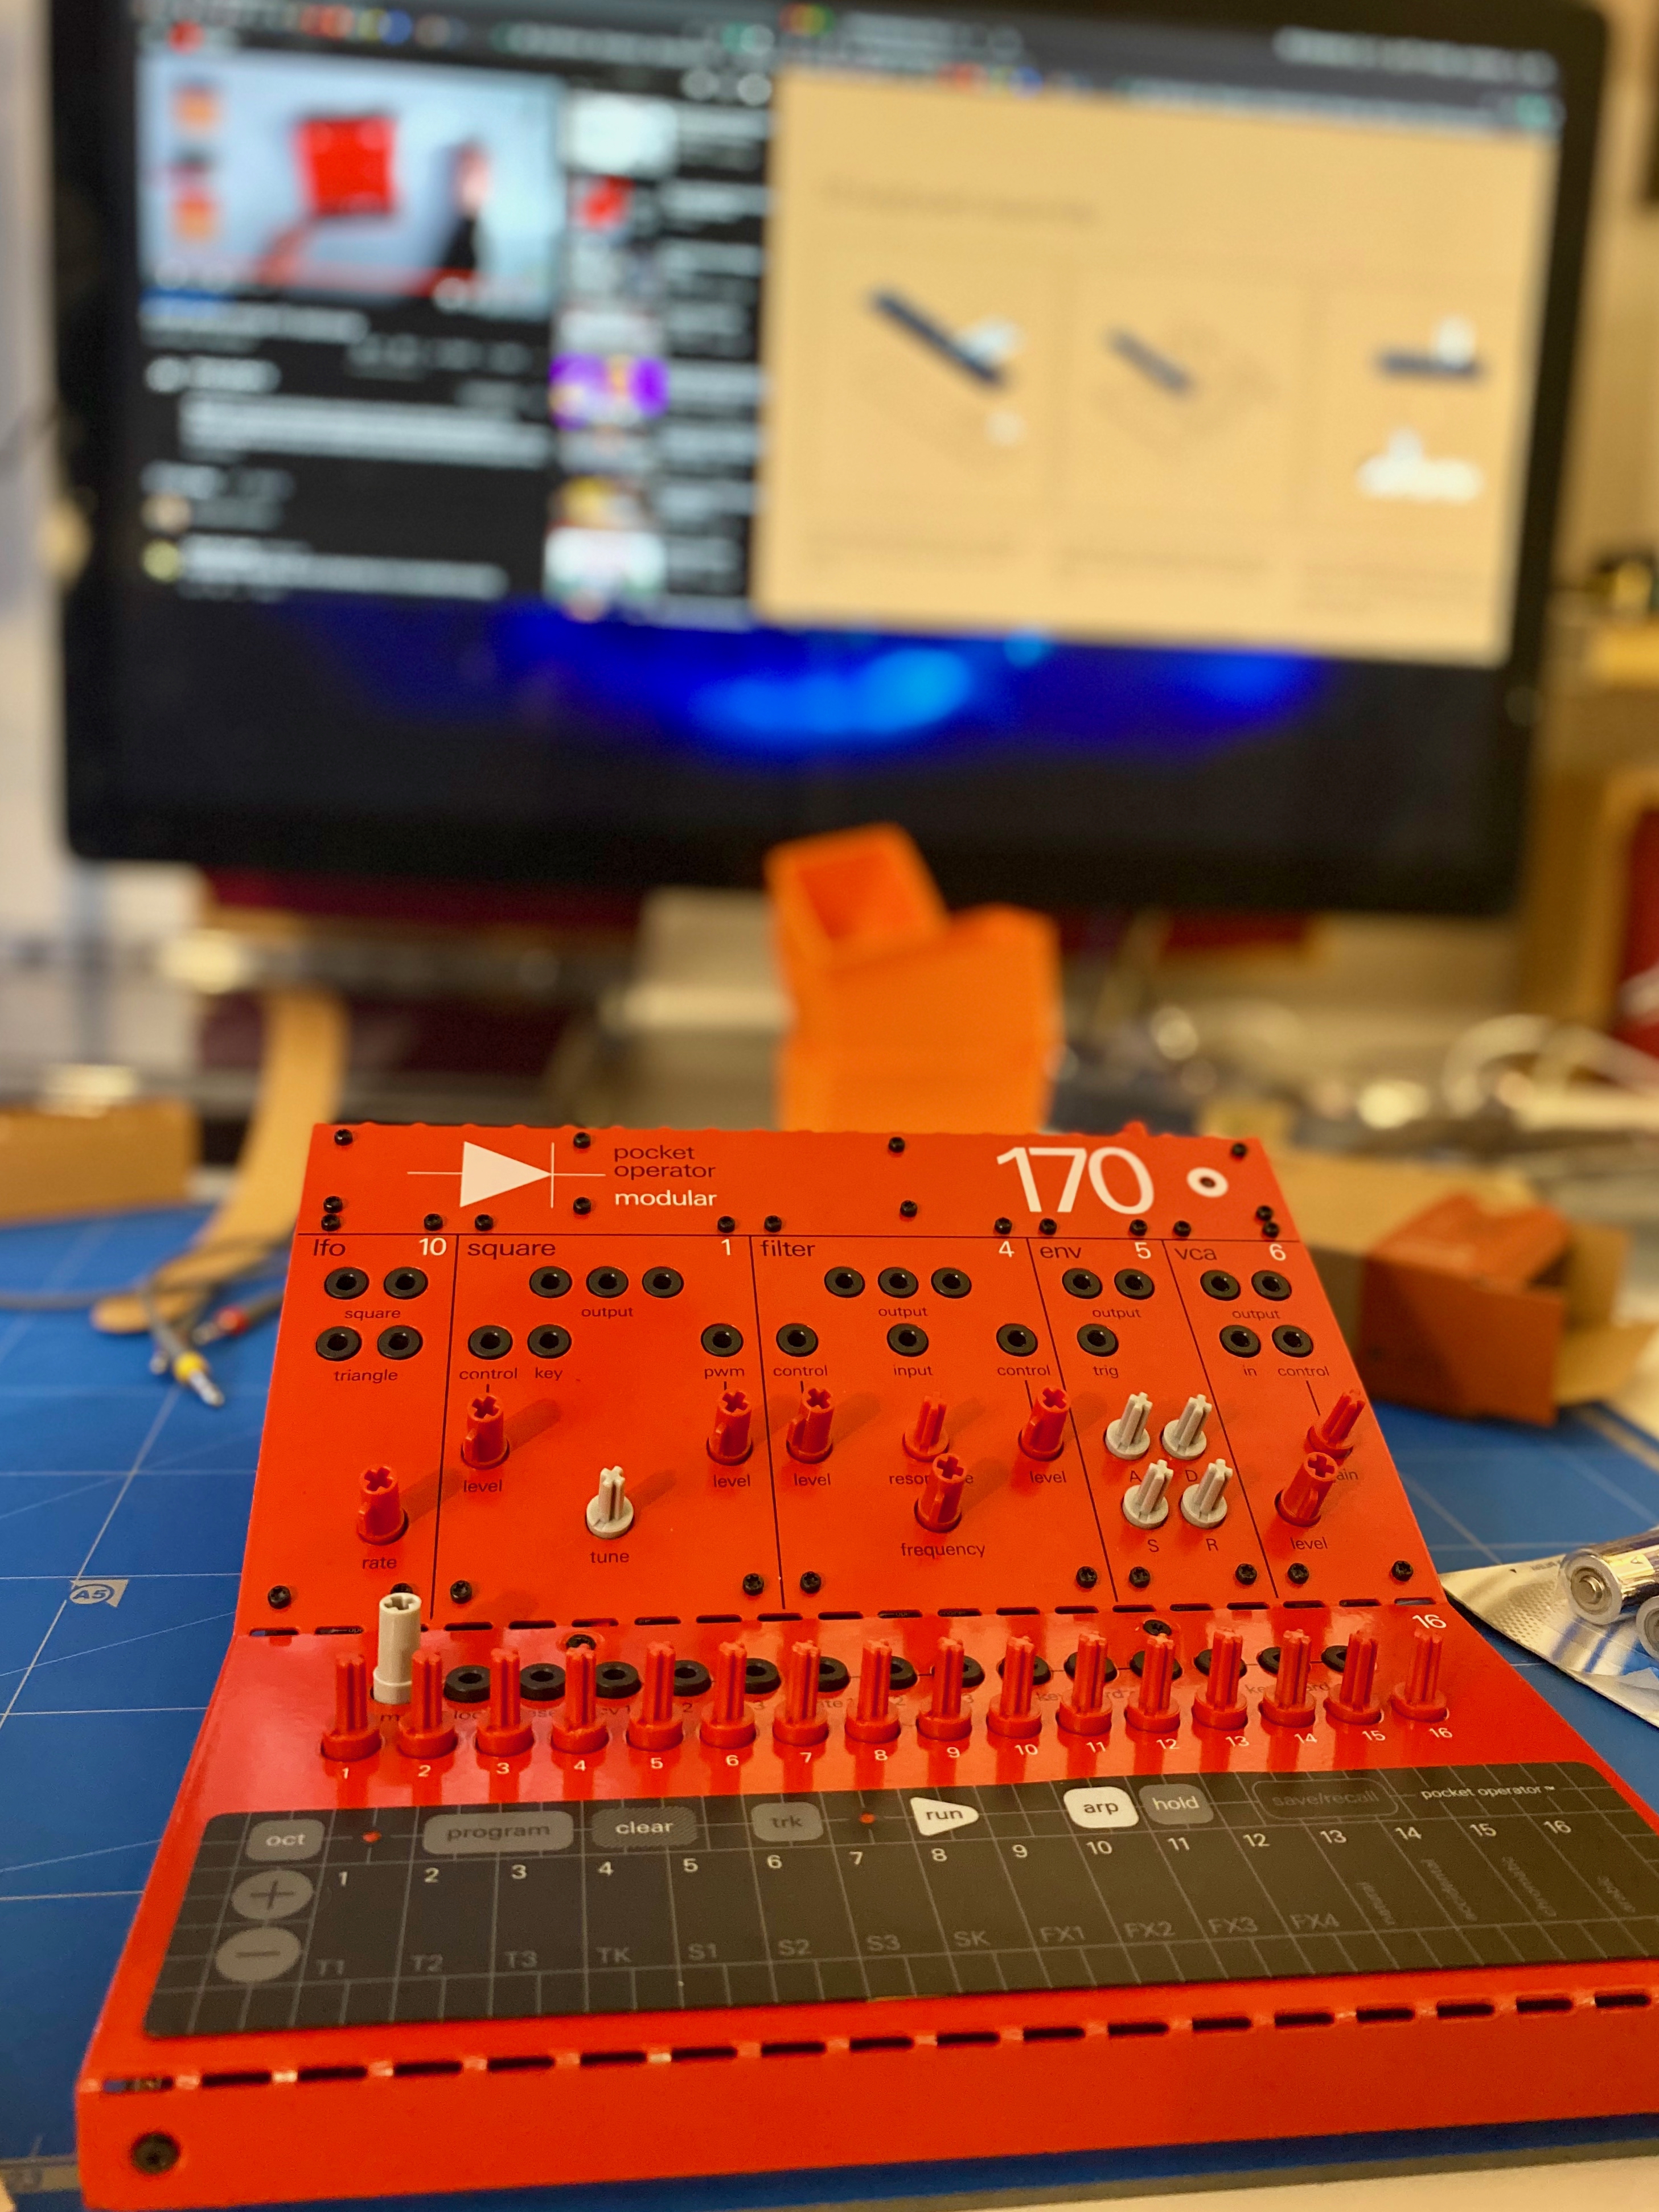
Once everything is in and screwed together, you can start putting in all of the lego-styled knobs. Pay attention here to the small indentations in each and align them to the zero-point of the potentiometer. The small ones in particular are pretty fiddly to get on, so it’s good to get it right the first time.
If I was to point you in the direction of the most helpful resources for this build, I found both TE’s PO-modular 170 online guide and Alissa’s build video the most useful.

Leave a comment